 Google+ has a slew of amazing features and hidden gems that may or may not come in handy in your marketing, but Google+ Events are definitely one feature that every business should consider taking advantage of. Whether your company is hosting a webinar, industry conference or event, employee BBQ, happy hour, hackathon, or something else … Google+ Events can help you get the word out and amplify the reach of your event.
One of the biggest benefits of Google+ Events is the fact that anyone using Gmail or Google Calendar will easily be able to add the event right onto their calendars. With just the click of a button, all the information and details about that event will populate in their calendars. What a time saver! Furthermore, the event will automatically be added to the Google Calendars of anyone who is already in the Circles you invite.
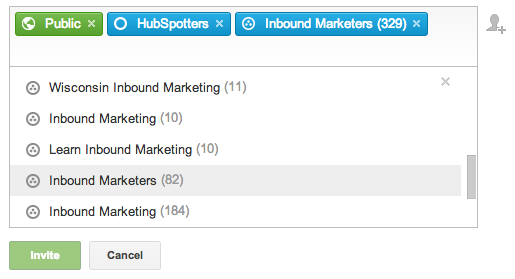
What’s more — these events are fully customizable, and you can invite entire Communities at the same time.
So, what do you say? Are you ready to get started? Great! Let’s run through the steps for setting up an event on Google+.
How to Create a Google+ Event
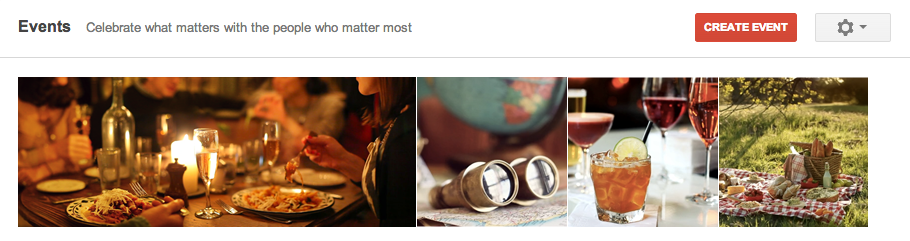
Step 1: Click on the ‘Events’ Tab
No matter which section of Google+ you’re looking at, if you’re logged in to your company account, you will see a sidebar on the left-hand side of the page. This sidebar includes options to select Home, Profile, Pages, Hangouts, Communities, Events, Photos, and More. In this scenario, you’ll want to click on the ‘Events‘ tab, which is listed as the sixth icon from the top.
Step 2: Click ‘Create Event’
Once you’ve clicked on the ‘Events‘ tab, you’ll be directed to a page that will guide you through creating your event. The images you see are various options for event cover images, and above these you’ll see a bold, red button that says ‘Create Event.’
Step 3: Fill in Your Event Information
Once you’ve clicked on the red, ‘Create Event‘ button, an event template will pop up where you can add your event information. Is this event a Google+ Hangout? Is it a webinar? A live talk for employees at your company? Be as specific and explicit as possible, and make sure you fill out every form as best you can.
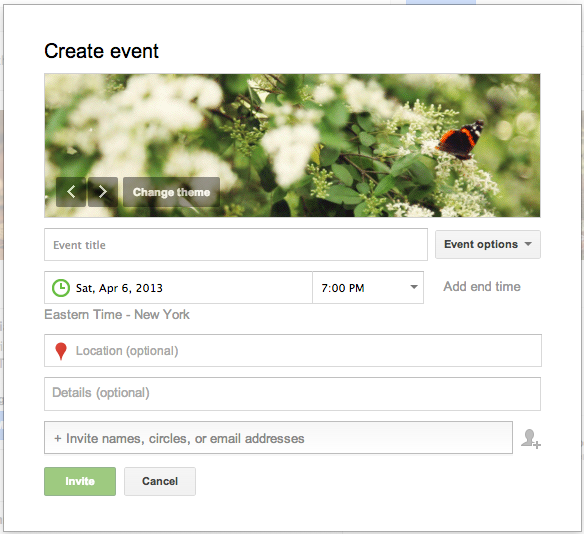
Step 4: Customize Your Event’s Cover Photo
To customize your event, click the transparent grey, ‘Change Theme‘ button in the bottom left corner of the current cover image you see (see image above). Once you’ve clicked this button, you’ll be brought to a page that shows you a variety of options for your Google+ Event’s cover photo — all provided by Google.
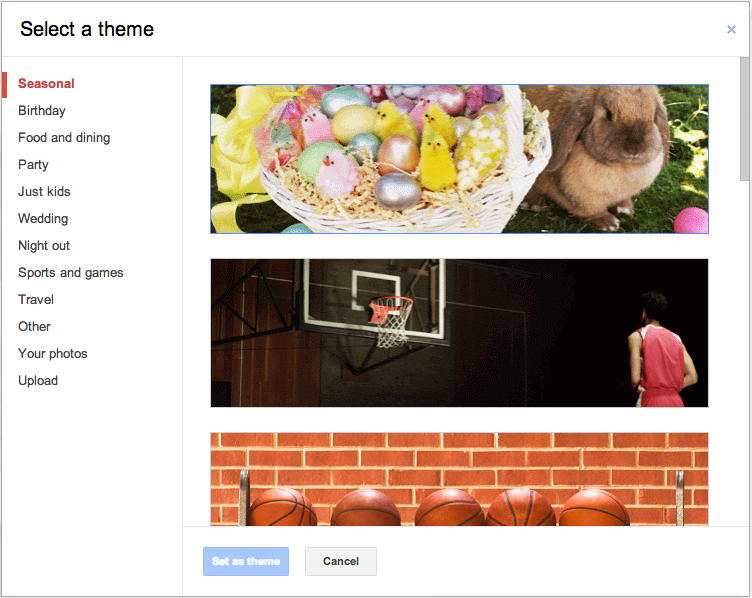
Of course, if you’re a DIY design whiz, you’ll probably want to upload your own cover photo. Creating a cover image that’s unique to your company and your specific event is a great way to differentiate it from any other created by the people you’re following. Consistency is key here. Don’t believe me? Check out these 15 businesses we admire for consistent, stellar branding. They’ve got it down to a science, and it really makes an impact.
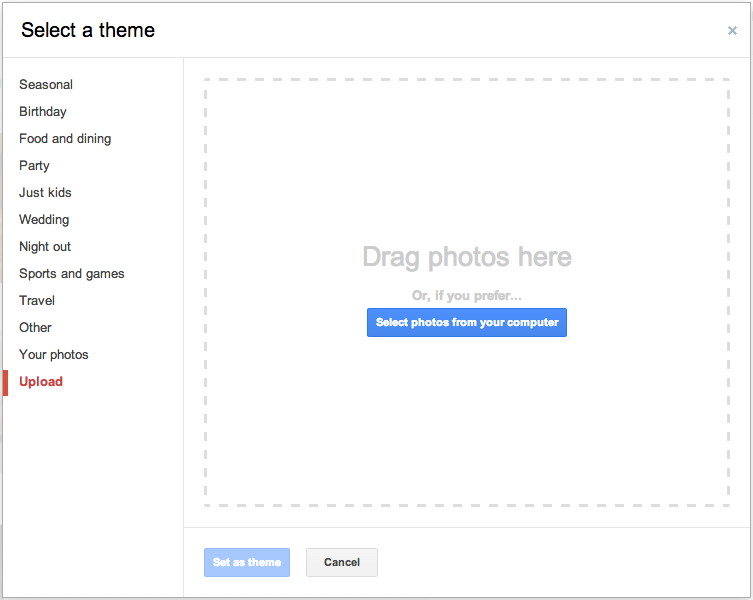
To upload your own cover photo, choose ‘Upload‘ from the list of theme options:

Here’s how you event might look in edit mode up until this point:
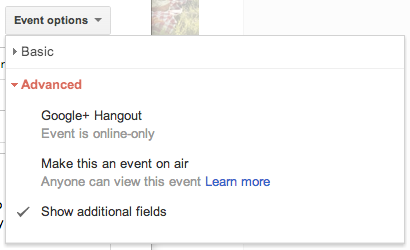
Step 5: Add More Details Via the ‘Advanced’ Tab
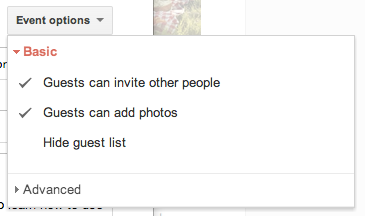
To add a URL, click ‘Show Additional Fields.’
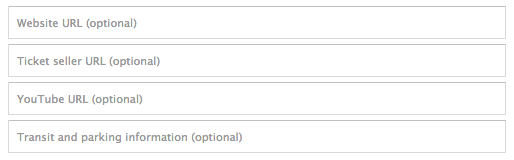
Here, you can add a URL and other details for your event:
Step 6: Invite Guests
Remember those “advanced” fields I mentioned earlier? See how the URL showed up in the bold, ‘Official Website‘ section of the event description?
